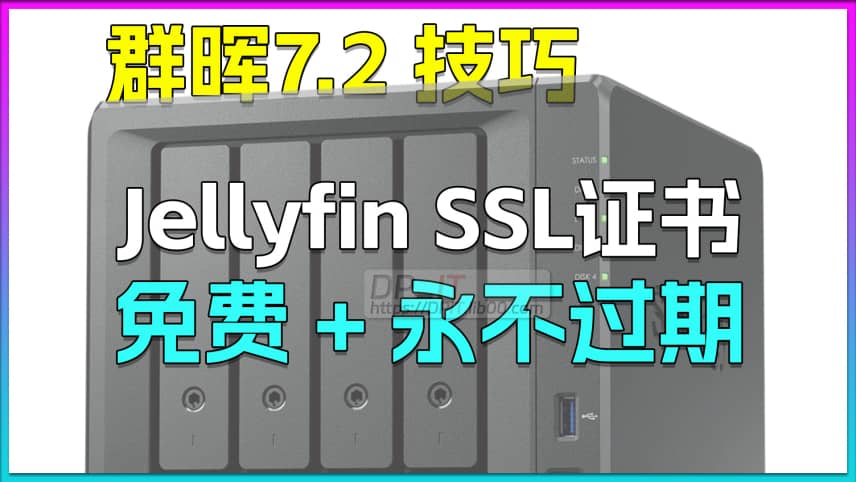
Jellyfin Enable HTTPS Access on Synology 7.2
Summary Content
# Jellyfin Enable HTTPS Access on Synology 7.2
## 📋 Video Content Overview
This comprehensive tutorial demonstrates how to configure HTTPS encrypted access for Jellyfin media server on Synology NAS 7.2 system. Learn to enhance your home media center security using PFX certificates and Docker container management, implementing secure access strategies for both local and remote connections.
---
## 🔐 Why Enable HTTPS?
Jellyfin defaults to HTTP protocol, which is unencrypted and poses security risks:
- Login credentials can be intercepted
- Data transmission is vulnerable to eavesdropping
- Remote access creates serious security vulnerabilities
**Enabling HTTPS significantly improves security**, especially when accessing Jellyfin from external networks. HTTPS encryption is an essential security measure.
---
## 📝 Detailed Configuration Steps
### 1. Prepare PFX Certificate File
First, obtain a PFX format SSL certificate. PFX certificates contain both private and public keys, essential for HTTPS configuration.
**Certificate Upload Path**:
```
/Docker/jellyfin/config/ssl/
```
Create an `ssl` folder under the `config` directory and upload your PFX certificate file there.
### 2. Jellyfin Network Settings Configuration
Access Jellyfin admin dashboard:
1. Navigate to **Networking** settings
2. Keep default ports unchanged:
- HTTP Port: 8096
- HTTPS Port: 8920
**Important Note**: Don't modify ports within Jellyfin itself. Instead, adjust port mappings at the Docker level—this is a best practice for containerized deployments.
### 3. HTTPS Options Configuration
**Enable HTTPS**: Check the "Enable HTTPS" option
**Key Configuration Items**:
1. **DO NOT Check "Require HTTPS"** ⚠️
- Recommended to maintain both HTTP and HTTPS access
- HTTP for internal network use, facilitating debugging and troubleshooting
- Implement security through router port control: only expose HTTPS port externally
- HTTP serves as a backup access method if HTTPS encounters issues
2. **SSL Certificate Path Configuration**:
- Click the configuration button
- Select the `SSL` folder
- Choose your uploaded PFX certificate file
3. **Certificate Password**:
- Enter the password set when generating the PFX certificate
- Example password used: DPIT2024
4. **Additional Options**:
- Enable "Allow remote connections"
- **Do not enable IPv6 initially**: IPv6 configuration is complex; start with IPv4
### 4. Docker Container Port Mapping
After configuration, update the Docker container:
1. **Stop the Jellyfin container**
2. **Edit container settings**, add port mapping:
- 8920:8920 (HTTPS port)
3. **Save and restart the container**
Wait approximately 10 seconds for the service to fully start, then verify HTTPS access.
### 5. Port Security Hardening
**Why Change Default Ports?**
Port 8920 is the standard Jellyfin HTTPS port, easily identified and scanned, presenting security risks.
**Best Practice**:
- Change external mapping to a custom port (e.g., 51999)
- Choose a random five-digit port between 10000-65535
- Modify in Docker port mapping: `51999:8920`
**Configuration Process**:
1. Stop the container
2. Change port mapping to custom port
3. Save and restart container
4. Test access using the new port
### 6. Router Port Forwarding Configuration
Configure port forwarding rules in your router:
- **External Port**: 51999 (or your custom port)
- **Internal IP**: 192.168.1.20 (your NAS IP address)
- **Internal Port**: 51999
- **Protocol**: TCP
---
## 🌐 External Access Testing
After configuration, access via:
```
https://yourdomain.com:51999
```
---
## 🔧 Troubleshooting Guide
If external access fails but internal access works, check in order:
1. **SSL Certificate Status**: Confirm certificate displays properly in browser without security warnings
2. **Router Port Forwarding**: Verify port forwarding rules are configured correctly
3. **DDNS Configuration**: Ensure domain correctly resolves to public IP
4. **Firewall Settings**: Check NAS and router firewalls allow the corresponding port
5. **Public IP**: Confirm your ISP provides a public IP address
---
## ✅ Security Configuration Best Practices Summary
1. **External Access Must Use HTTPS**: Never use HTTP for remote access
2. **Modify Default Ports**: Avoid standard ports like 8920 to reduce scanning risks
3. **Dual Protocol Strategy**: Keep HTTP for internal network (debugging), expose only HTTPS externally
4. **Regular Certificate Updates**: SSL certificates expire and need timely renewal
5. **Use Strong Passwords**: Set strong passwords for Jellyfin accounts and certificates
---
## 📚 Related Tutorial Links
- PFX Certificate Generation Tutorial
- Jellyfin Initial Configuration Video
- Synology DDNS Setup Guide
---
## 🏷️ SEO Keywords
Jellyfin HTTPS setup, Synology NAS security configuration, PFX certificate installation, Docker HTTPS configuration, media server encrypted access, Synology 7.2 tutorial, SSL certificate setup, port forwarding configuration, DDNS setup, home media center security
Related Contents
Synology DSM Tip: Easily Chang...
Duration: 00:00 | DPSynology Office Quick Start Gu...
Duration: 00:00 | DPView HDD SMART Info on Synolog...
Duration: 12:19 | DPCheck Real CPU Temperature via...
Duration: 08:06 | DPSynology 7.2 Jellyfin Upgrade ...
Duration: 13:06 | DPDocker Claude Code Install & A...
Duration: 13:07 | DPDocker Jellyfin Free SSL Certi...
Duration: 14:42 | DPDocker Nginx Free SSL Certific...
Duration: 16:17 | DPSynology NAS Quick DSM SSL Cer...
Duration: 10:50 | DPSynology DSM Built-in Reverse ...
Duration: 03:51 | DPEdit Files in Synology DSM Web...
Duration: 01:43 | DPFree SSL Certificate for Synol...
Duration: 08:52 | DPRecommended

Claude Code Status Bar: Instal...
06:47 | 308How to configure the status bar for Claude Code. T...

HomeBox Free Speed Test Tool D...
10:31 | 95Based on Synology DSM 7.2.x, a complete video tuto...
![iEVE: Dead Red Shield Upgrade Test [EVE Mobile Tool]](https://r-dpit.lib00.com/pics/180.2.17_cover.jpg)
iEVE: Dead Red Shield Upgrade ...
18:23 | 48This is a video from iEVE Beta Lab Episode 3: How ...

Free SSL Docker acme.sh: Wildc...
11:10 | 410Based on Synology 7.2.1 system, the process of ins...
