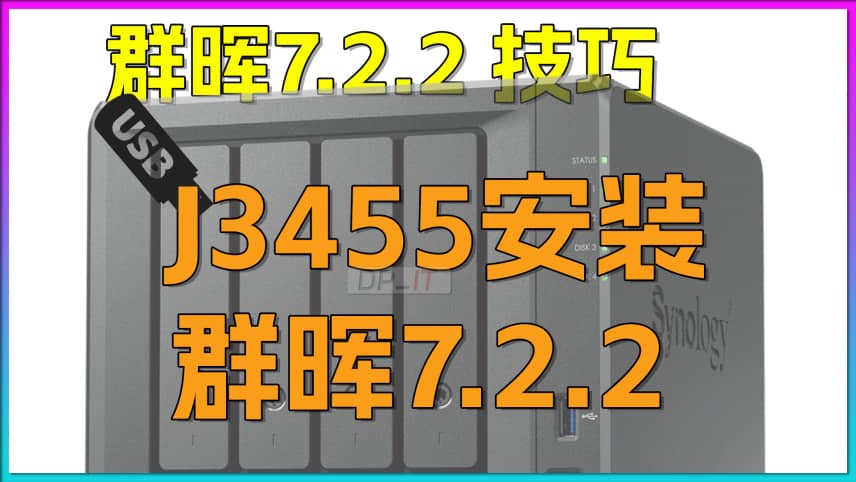
J3455 Synology 7.2.2 Full Installation Log
Summary Content
# J3455 Synology 7.2.2 Full Installation Log
## 📋 Video Overview
This comprehensive tutorial documents the complete installation process of Synology DSM 7.2.2 on an ASRock J3455 motherboard, covering BIOS configuration, bootloader setup, system installation, and hardware transcoding tests. The installation was successfully completed with all system functions working properly, debunking online myths about extended reboot times on the J3455 platform.
---
## 🛠️ Hardware Preparation & Configuration
### Hardware Components
- **Motherboard**: ASRock J3455-ITX
- **BIOS Version**: 1.8 (Latest version)
- **RAM**: 2×8GB DDR3
- **Storage**: 3.5-inch test HDD (pre-formatted)
- **Boot Device**: Synology 7.2 bootloader USB (compatible with 7.2.2)
- **Network**: Wired Ethernet connection
### Critical BIOS Settings
To ensure proper gigabit network performance, specific CPU configurations are required:
- BIOS version confirmed at 1.8
- CPU parameter optimization (detailed in video)
- Boot priority set to UEFI USB drive
---
## 📝 Installation Process
### Phase 1: Boot Initialization
1. **USB Boot**: System automatically reads bootloader content
2. **Boot Selection**: Choose "Configurable Load" option
3. **System Initialization**: Wait for boot process completion
4. **Network Configuration**: System auto-assigns IP address (e.g., 192.168.1.207:7681)
### Phase 2: System Configuration
Access bootloader interface via browser (192.168.1.207:7681):
1. **Model Selection**: SA6400
2. **Version Selection**: DSM 7.2.2 (or 7.2.1)
- ⚠️ **Important**: Version 7.2.2 has modifications to hardware decoding and Video Station
- Version 7.2.1 recommended for better compatibility
3. **Serial Number**: Configure semi-whitelisted SN and MAC via CMD
4. **Build Loader**: Click "Build" to complete bootloader construction
5. **Boot System**: Select "Boot the loader" to start machine
### Phase 3: DSM Installation
- **Access URL**: Automatically redirects to 192.168.1.207:5000
- **Wait Time**: Approximately 3 minutes 30 seconds (much faster than rumored 10-20 minutes)
- **Version Matching**: ⚠️ Installation version must match bootloader configuration
- **Disk Initialization**: System formats selected installation drive
- **System Reboot**: Automatic restart after installation
- **Total Time**: Complete installation process takes ~10 minutes
---
## ⚙️ Initial System Setup
### Basic Configuration
- **Device Name**: Custom NAS naming (e.g., test NAS 002)
- **Admin Account**: Create Synology administrator account (⚠️ Highest privileges)
- **Update Policy**: Recommend "Manual update"
- **Data Analytics**: Disable data collection options
- **SSL Certificate**: Select "Allow access"
- **Account Protection**: Configure based on requirements
---
## 🧪 Functional Testing & Verification
### 1. Hardware Transcoding Test
**SSH Configuration**:
- Enable SSH access in "Terminal & SNMP"
- ⚠️ **Security Tip**: Always change default SSH port
**Hardware Decode Verification**:
```bash
# Check hardware decode device
ls -l /dev/dri
```
Normal output indicates hardware decoding support is functional.
### 2. Docker & Jellyfin Testing
- **Docker Installation**: Successfully deployed Docker environment
- **Jellyfin Deployment**: Imported test image and configured
- **Transcoding Test**:
- Import test video file
- Monitor GPU utilization
- Verify hardware transcoding functionality
**GPU Monitoring Command**:
```bash
# Real-time GPU usage monitoring
intel_gpu_top
```
**Test Results**:
- GPU utilization increases normally during 720P playback
- Transcoding information displays correctly
- Hardware acceleration fully functional
### 3. System Reboot Time Test
- **Test Purpose**: Verify claims of "20+ minute reboot times on J3455"
- **Actual Result**: Approximately 4 minutes 30 seconds to complete reboot
- **Conclusion**: Online rumors debunked; reboot time is within normal range
---
## ✅ Test Summary
All critical functions verified successfully:
- ✅ System installation completed
- ✅ Basic functions operational
- ✅ Docker container deployment successful
- ✅ Jellyfin media server running properly
- ✅ Hardware transcoding fully functional
- ✅ System reboot time normal (4:30)
- ✅ Storage pool creation successful
---
## 💡 Important Tips & Recommendations
1. **Version Selection**: DSM 7.2.1 may offer better stability than 7.2.2
2. **Bootloader Compatibility**: Version 7.2 bootloader works with 7.2.2 system
3. **Security Configuration**: Always modify default SSH port
4. **BIOS Settings**: Proper CPU configuration required for gigabit performance on J3455
5. **Serial Number**: Semi-whitelisted SN and MAC guides available through search engines
---
## 🔗 Related Resources
Referenced tutorials in video:
- Synology 7.2 bootloader USB creation guide
- Jellyfin hardware transcoding configuration tutorial
---
## 🏷️ SEO Keywords
Xpenology, DSM 7.2.2, J3455, ASRock, NAS installation, hardware transcoding, Jellyfin, Docker, Synology tutorial, system setup, bootloader, ARPL, hardware decode testing
Related Contents
Synology DSM Tip: Easily Chang...
Duration: 00:00 | DPSynology Office Quick Start Gu...
Duration: 00:00 | DPView HDD SMART Info on Synolog...
Duration: 12:19 | DPCheck Real CPU Temperature via...
Duration: 08:06 | DPSynology 7.2 Jellyfin Upgrade ...
Duration: 13:06 | DPDocker Jellyfin Free SSL Certi...
Duration: 14:42 | DPDocker Nginx Free SSL Certific...
Duration: 16:17 | DPSynology NAS Quick DSM SSL Cer...
Duration: 10:50 | DPSynology DSM Built-in Reverse ...
Duration: 03:51 | DPEdit Files in Synology DSM Web...
Duration: 01:43 | DPFree SSL Certificate for Synol...
Duration: 08:52 | DPFree SSL Docker acme.sh: Wildc...
Duration: 11:10 | DPRecommended

GameSir Nova 2 Moonlight Vibra...
07:31 | 289When using Sunshine+Moonlight streaming, the GameS...

Claude Code Conversation Recov...
02:48 | 208Methods for restoring interrupted conversations in...
Docker Container Proxy Setup o...
06:27 | 134Synology NAS: Configuring Proxy for Docker Contain...

Do You Really Need Local DeepS...
08:04 | 58This video discusses whether ordinary users need t...
