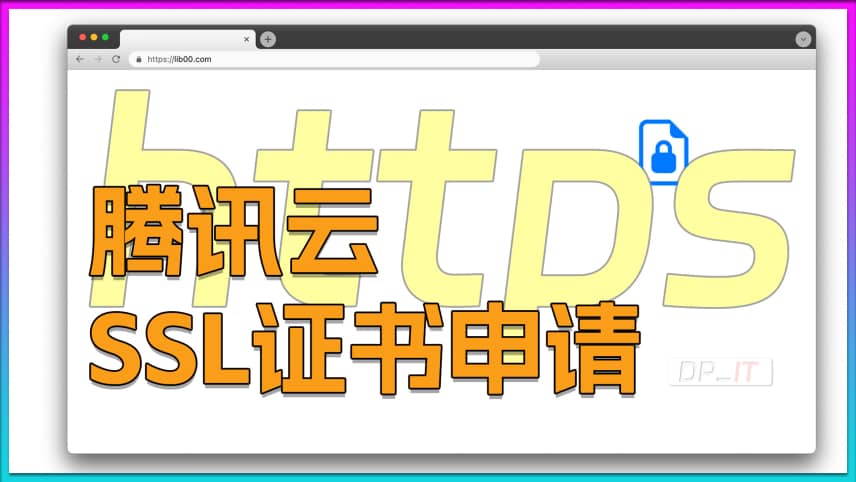
Tencent Cloud Free SSL Certificate Guide
Summary Content
# Tencent Cloud Free SSL Certificate Guide
## 📋 Video Overview
This tutorial provides a comprehensive guide on applying for and configuring free SSL certificates from Tencent Cloud to enable HTTPS encryption for websites. Although Tencent Cloud has reduced the validity period of free certificates from 12 months to 3 months (90 days), it remains a viable free solution for personal websites, testing environments, and small projects.
---
## 🔐 Why Do You Need an SSL Certificate?
- **Enhanced Security**: HTTPS protocol provides superior data transmission security compared to HTTP
- **Data Encryption**: Protects user privacy and sensitive information
- **SEO Benefits**: Search engines favor HTTPS websites
- **Browser Trust**: Avoids "Not Secure" warning messages
- **Industry Standard**: Basic security requirement for modern web applications
---
## ⚙️ Prerequisites
1. **Domain Ownership**: SSL certificates are issued based on domain names
2. **DNS Management Access**: Ability to modify DNS resolution records
3. **Tencent Cloud Account**: Required for applying for free SSL certificates
4. **Public IP** (Optional): Needed for NAS devices; not required for VPS servers
---
## 📝 Application Process
### 1. Access Certificate Application Page
- Log in to Tencent Cloud Console
- Search for "SSL" or navigate to "Cloud Communication & Enterprise Services"
- Select "SSL Certificate" service
- Click "Apply for Free Certificate"
### 2. Fill in Certificate Information
- Enter the domain name to protect (e.g., test.yilive.com)
- Provide contact email
- Select domain verification method
- Submit verification request
---
## 🔍 Three Domain Verification Methods Compared
### Method 1: Manual DNS Verification (Recommended) ✅
**Advantages:**
- Lowest barrier to entry, widest applicability
- Website doesn't need to be running
- Only requires adding a single DNS record
**Steps:**
1. System generates verification record (CNAME type)
2. Log in to domain DNS management panel (e.g., DNSPod)
3. Add the specified CNAME record
4. Host record: Verification string provided by system
5. Record value: Verification target address provided by system
6. Return to Tencent Cloud and click "Verify Domain"
7. Wait for certificate issuance after successful verification (typically 8-10 minutes)
### Method 2: Automatic DNS Verification (Most Convenient) ⚡
**Advantages:**
- Fully automated, no manual operations required
- Fast verification process
**Limitations:**
- Only works for domains with DNS resolution on Tencent Cloud services (DNSPod, etc.)
- Requires authorization for Tencent Cloud to manage DNS records automatically
**Steps:**
1. Select "Automatic Verification"
2. Grant authorization
3. System automatically adds verification record and completes verification
4. Wait for certificate issuance
### Method 3: File Verification (Not Recommended) ⚠️
**Disadvantages:**
- Relatively complex operation
- Requires website to be accessible via HTTP
- Requires ability to upload files to server
**Steps:**
1. Download system-generated verification file
2. Upload to `.well-known/pki-validation/` path in website root directory
3. Ensure file is accessible via HTTP
4. Submit verification
---
## 📥 Certificate Download and Deployment
### Downloading Certificate
1. After certificate approval, find the issued certificate in "My Certificates" list
2. Click "Download" button
3. Select server type (Nginx format recommended for universal compatibility)
4. Download and extract the compressed package
### Certificate File Descriptions
- **`.key` file**: Private key file (must be kept strictly confidential)
- **`.crt` file**: Certificate file (public certificate)
- **`.pem` file**: Certificate chain file included in some formats
---
## 🎯 Best Practice Recommendations
1. **Verification Method**: Prioritize manual DNS verification for best compatibility
2. **Renewal Reminders**: Set 90-day expiration reminders and renew in advance
3. **Private Key Security**: Safeguard `.key` files; never upload to public repositories
4. **Multi-domain Planning**: Apply for separate certificates for major subdomains
5. **Testing**: Use SSL testing tools to verify correct configuration after deployment
---
## ⏰ Timeline Information
- **Certificate Validity**: 90 days (3 months)
- **Review Time**: Typically 8-10 minutes, maximum 1 business day
- **DNS Propagation**: May take several minutes after adding records
---
## 🛠️ Use Cases
- Personal blogs and websites
- Development and testing environments
- Small projects and demos
- HTTPS access for NAS devices
- Web services on VPS servers
- Learning and experimental purposes
---
## 💡 Frequently Asked Questions
**Q: How to renew certificates after expiration?**
A: You need to apply for a new certificate. It's recommended to start the process 10 days before expiration.
**Q: Can I apply for multiple free certificates?**
A: Yes, you can apply for corresponding free certificates for each domain.
**Q: Can DNS verification records be deleted?**
A: Yes, verification records can be deleted after successful certificate issuance.
---
## 🏷️ SEO Keywords
SSL certificate application, Tencent Cloud SSL, free HTTPS certificate, domain verification, DNS verification, website security, HTTPS configuration, SSL certificate download, certificate deployment, website encryption, DNSPod, Tencent Cloud tutorial
Related Contents

The Ultimate Guide to Recoveri...
Duration: 00:00 | DP
Antigravity Disable Auto-Updat...
Duration: 00:00 | DP
The Ultimate Guide to Fixing t...
Duration: 00:00 | DP
Codex Skill Beginner's Guide: ...
Duration: 00:00 | DP
The Ultimate Codex AI Cache Cl...
Duration: 00:00 | DP
Free Online Text Comparison To...
Duration: 00:00 | DP
ORICO HA500 NAS 661-Day Uptime...
Duration: 00:00 | DP
The Ultimate Guide to Managing...
Duration: 00:00 | DP
AI Beginner's Guide: How to Se...
Duration: 00:00 | DP
Google Antigravity Account Ban...
Duration: 00:00 | DP
Antigravity Not Working? Solve...
Duration: 00:00 | DP
Antigravity Skills Beginner's ...
Duration: 00:00 | DPRecommended
Antigravity Multi-Account Swit...
00:00 | 5,701Finding the Antigravity editor's public beta quota...
The Ultimate Guide to Customiz...
00:00 | 1,436YouTuber DP provides a detailed guide on using his...
The Ultimate Codex AI Cache Cl...
00:00 | 2,185Is your local Codex AI . codex folder getting bloa...

Free AI Platform for Quick API...
02:22 | 244AI Free Usage Platform and AI Quick Test API Testi...