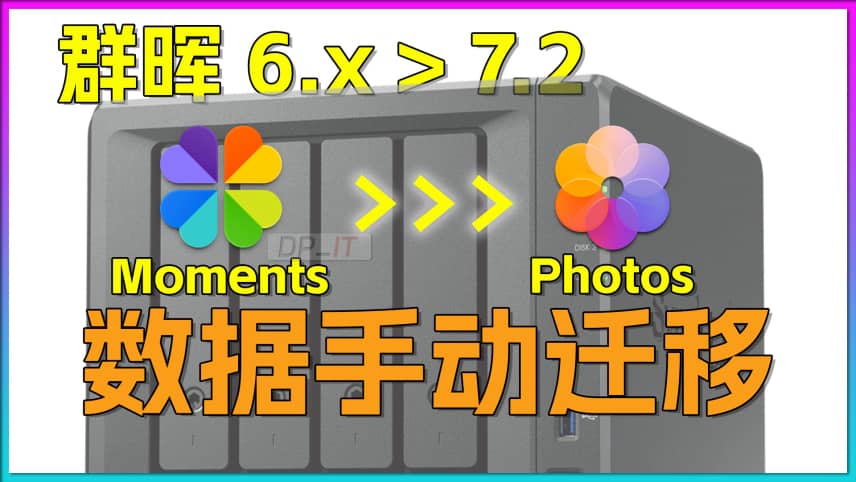
Synology Moments to Photos Manual Migration Guide
Summary Content
# Synology Moments to Photos Manual Migration Guide
## 📋 Video Overview
This comprehensive tutorial demonstrates the complete process of manually migrating data from Moments to Photos when upgrading Synology DSM from 6.x to 7.2. The author uses a test machine to recreate the entire migration workflow, providing a reliable solution for users planning to upgrade.
---
## 🎯 Core Content
### 1. **Preparation Requirements**
- **Hardware Setup**: A Synology NAS running DSM 7.2
- **Software Installation**: Synology Photos package must be installed
- **Data Backup**: Complete backup of Moments data from DSM 6 to home folder (recommend using "BK_" prefix)
- **Mobile Client**: Install Synology Photos app on your smartphone
### 2. **User & Permission Configuration**
**Create Dedicated User Group**:
- Group naming example: `family_member_photo`
- Enable Synology Photos access in Application permissions
- Folder permissions auto-configure (no manual setup needed)
**Create Test Account**:
- Create new user account (e.g., `etest_auto`)
- Add user to the created group
- Permissions inherit automatically from group settings
### 3. **Network & Security Settings (Optional)**
- **DDNS Configuration**: Configure dynamic DNS if public IP available
- **Custom Ports**:
- HTTP port: 51303
- HTTPS port: 51304
- **SSL Certificate**: Download and import certificate from providers like Tencent Cloud
- **Local Network Testing**: Use internal IP if no external access required
### 4. **Photos Initialization Critical Steps**
This often-overlooked step is crucial for successful migration:
**Web Client Initialization**:
- Login to DSM with new account and open Photos
- Upload at least one test image
- System automatically creates `photos/photo library` folder structure
- Structure: `photos/photo library/year/month`
**Mobile Client Initialization**:
- Login to Synology Photos app on smartphone
- Enable photo backup, select "Only backup new photos"
- Optionally disable "Wi-Fi only" for 4G/5G backup
- Take a screenshot or photo to trigger first backup
- System creates `photos/Mobile backup/[device name]` folder
> **⚠️ Important**: Both web and mobile initialization must be completed to ensure proper folder structure creation, otherwise data migration may fail.
### 5. **Data Migration Core Operations**
**Understanding Original Moments Directory Structure**:
```
driver/moments/
├── Mobile/
│ ├── [Phone Name 1]/
│ │ └── year/month/photo files
│ └── [Phone Name 2]/
│ └── year/month/photo files
└── Web/
└── year/month/day/photo files
```
**Migration Steps**:
1. **Migrate Mobile Data**:
- **Move** (not copy) all device folders from backup `Mobile` directory
- Destination: `homes/[username]/photos/Mobile backup/`
- Moving is significantly faster than copying (especially on HDDs)
2. **Migrate Web Data**:
- **Move** entire `Web` folder from backup
- Destination: `homes/[username]/photos/photo library/`
- Recommend renaming to `Web from old NAS` for clarity
3. **Data Verification**:
- Refresh Photos web interface to check photo display
- Verify historical photos accessible on mobile
- Test playback, download, and other functions
### 6. **Backup Target Optimization**
Default backup uses generic names like "iPhone," potentially causing multi-device conflicts:
**Modify Backup Destination**:
1. Open "Backup" settings in Photos mobile app
2. Tap gear icon in top-left corner
3. Select "Backup destination" → "Customize"
4. Choose folder with device-specific name (e.g., `亿iPhone亿`)
5. **Keep default iPhone folder** (deletion may affect stability)
---
## ✅ Migration Completion Checklist
- [x] All historical photos accessible via Photos web interface
- [x] Mobile client can access migrated old data
- [x] New photos backup automatically
- [x] Video files play normally
- [x] Photo timeline displays correctly
- [x] Backup destination folder optimized
---
## 🔧 Troubleshooting Tips
1. **Photos Not Displaying**: Check folder permissions and directory structure
2. **Backup Failures**: Verify network connection and Photos package status
3. **Certificate Issues**: Use internal IP temporarily if HTTPS problems occur
4. **Data Loss Risk**: Always create complete backup on external media before operations
---
## 💡 Best Practice Recommendations
- Use family groups for multi-user album sharing
- Regularly check backup status to ensure data safety
- Schedule large migrations during off-peak hours
- Retain original Moments data for at least one month to verify completeness
---
## 🏷️ SEO Keywords
Synology tutorial, Synology Photos migration, Moments to Photos, DSM 7.2 upgrade, NAS photo management, photo backup, Synology data migration, DSM 6 to 7, manual photo migration, Synology album
Related Contents
View HDD SMART Info on Synolog...
Duration: 12:19 | DPCheck Real CPU Temperature via...
Duration: 08:06 | DPSynology 7.2 Jellyfin Upgrade ...
Duration: 13:06 | DPDocker Jellyfin Free SSL Certi...
Duration: 14:42 | DPDocker Nginx Free SSL Certific...
Duration: 16:17 | DPSynology NAS Quick DSM SSL Cer...
Duration: 10:50 | DPRecommended

iKuai OS VLAN Beginner's Tutor...
09:18 | 16Welcome to the iKuai beginner tutorial. This video...

Starsector 0.98 Chinese v0.2 O...
10:34 | 6Starsector Online Tools Website (https://sst.lib00...
![iEVE: 400 Storyline T8 Boxes Scan Loot Analysis [EVE Mobile Tool]](https://r-dpit.lib00.com/pics/180.2.14_cover.jpg)
iEVE: 400 Storyline T8 Boxes S...
17:28 | 5>>Update Note: I haven't used editing tools in a w...
Nginx Proxy Manager on Synolog...
14:11 | 6docker-based Nginx graphical management tool, Ngin...

